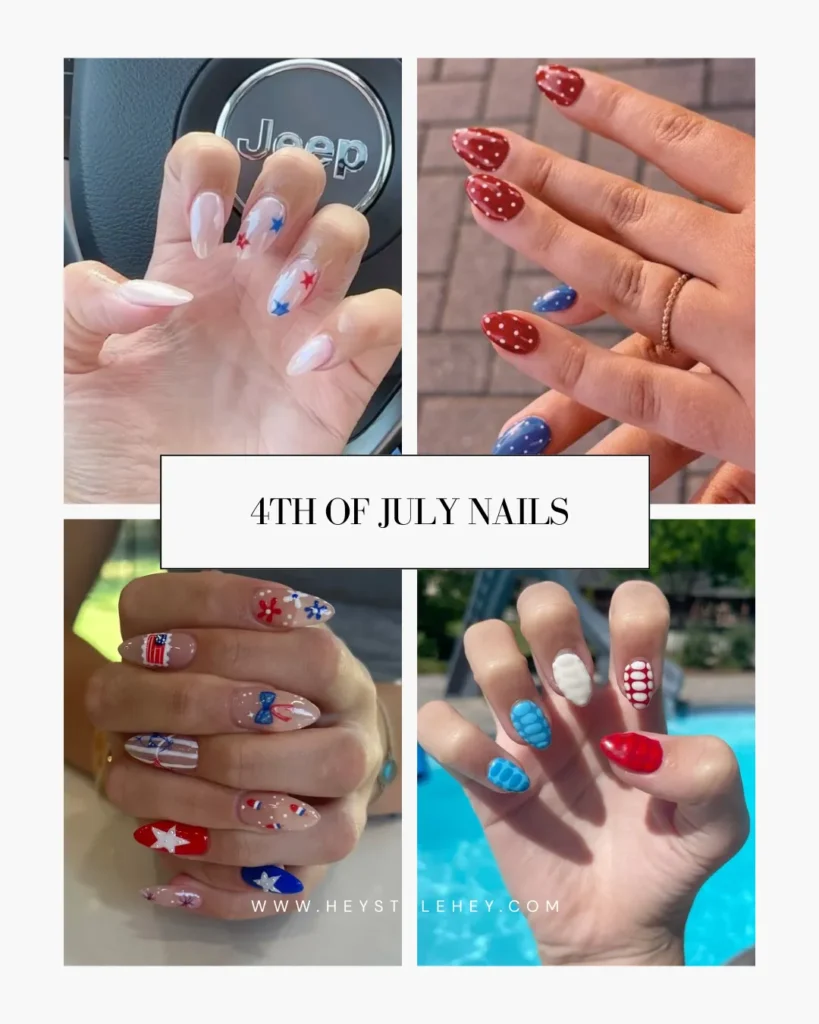
Every year around late June I fall down the same rabbit hole. It starts with one saved nail photo and ends with forty-three tabs open and a very strong opinion about the difference between cobalt and navy.
4th of July nails are genuinely one of my favorite things to plan for. Not because I’m particularly patriotic — but because red, white, and blue is actually a great color palette? Bold, high contrast, photographs well in sunlight.
And the holiday gives you permission to go a little extra in a way that feels earned rather than random.
The problem is most patriotic nail ideas out there look the same. Chunky glitter, wobbly stars, that specific shade of red that reads more orange than anything. It doesn’t have to be that.
I’ve been collecting references since March — yes, March — and pulled together 45+ ideas that actually cover the full range. Simple, aesthetic, glam, short nails, long nails, no-skill-required. Something in here will land for you.
Classic Red, White & Blue
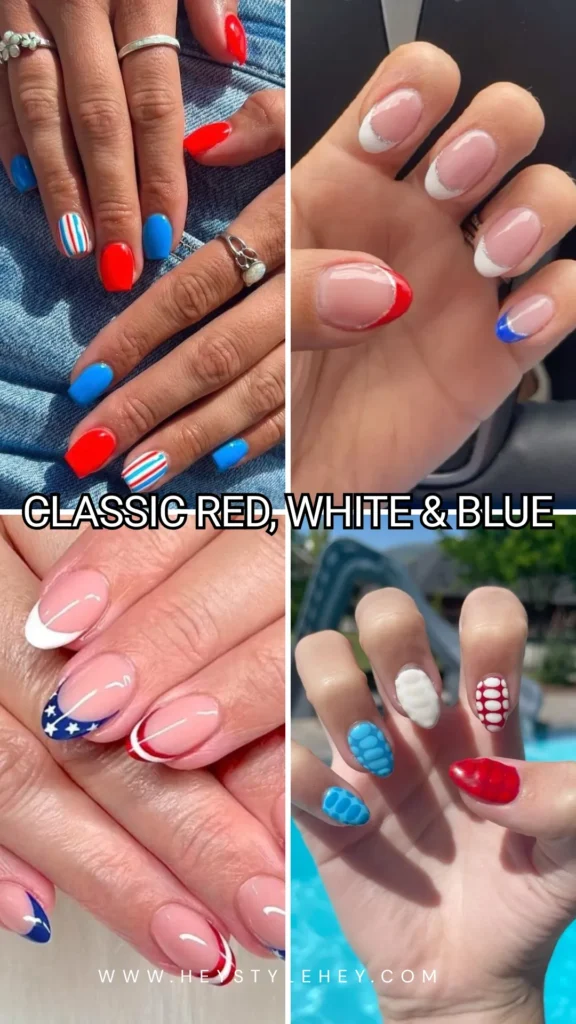
The classics work. They just need editing.
Most people overcomplicate July 4th nails — three colors on every nail, stars and stripes and glitter all competing for attention. The sets that actually look good are the ones that pick a lane.
One finish. One focal point. Everything else stays clean.
01. Clean Stripe

White base, red and blue stripes running across. In person this looks sharper than almost anything more complicated — the kind of set that makes people think you went to a salon.
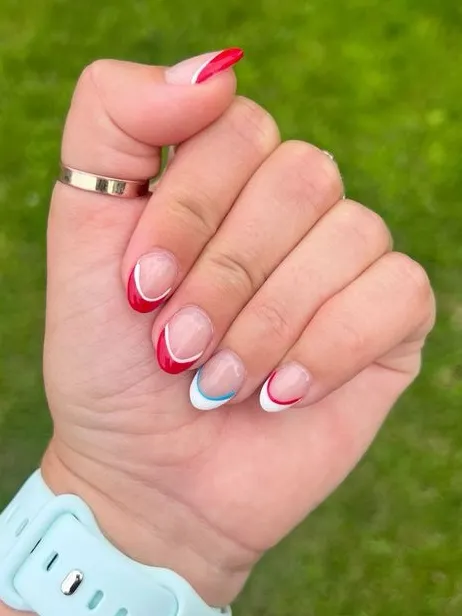
02. French Tip Trio
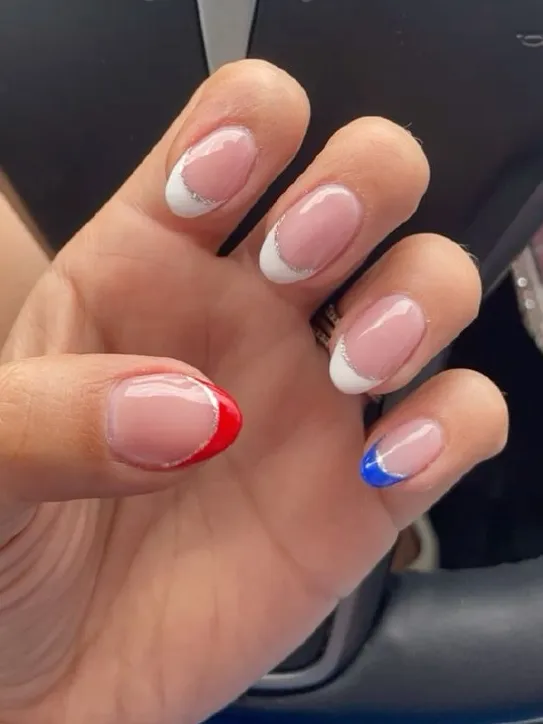
I’ve done this one twice now and it never gets old. One nail red, one cobalt, the rest white — all french tip. Works on every nail length, every shape. Just doesn’t miss.
03. Color Block Set
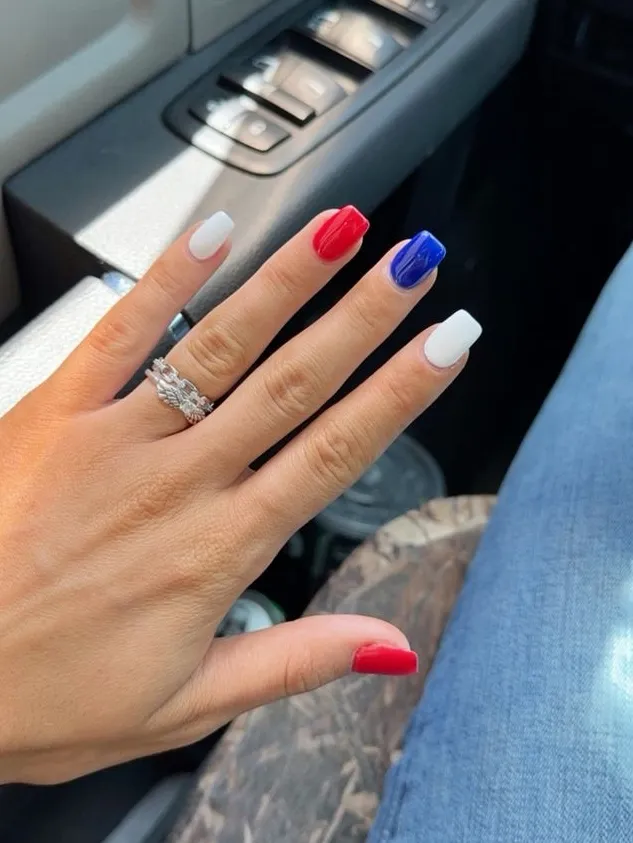
Two red, two white, one blue per hand. No art, no detail. If you have short nails, this is genuinely one of the best things you can do — it looks almost architectural.
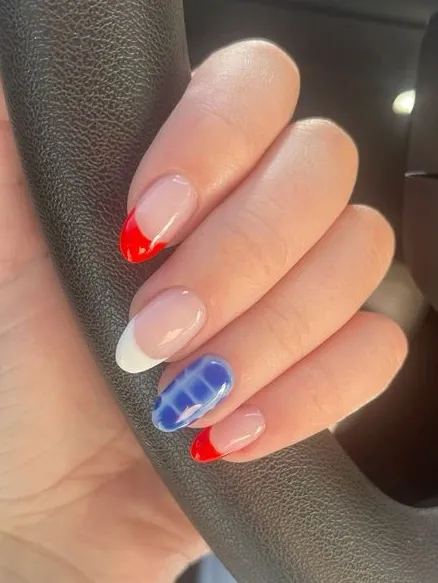
04. Snake Americana
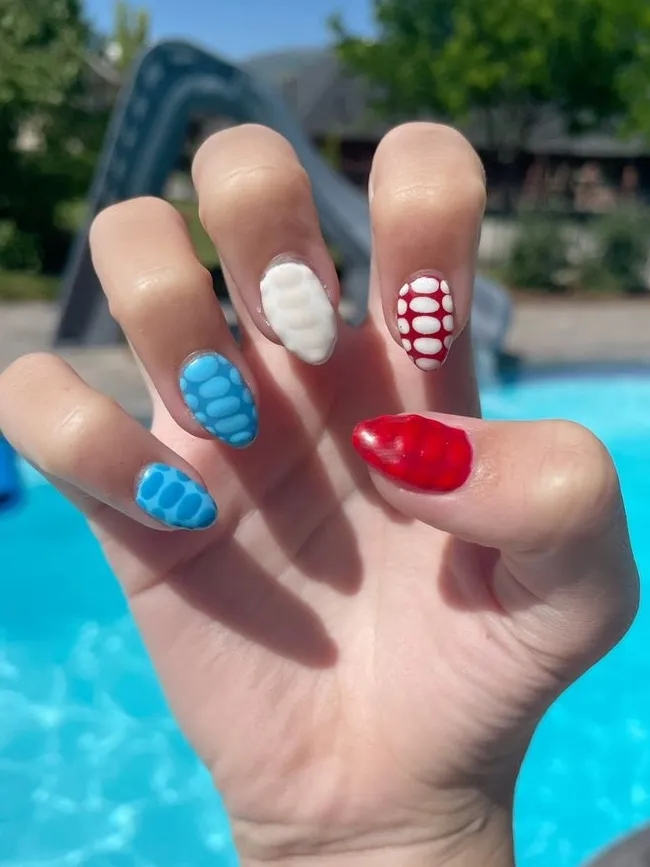
Okay hear me out — snake print over a patriotic color split. Red on two nails, white on one, blue on two. It sounds chaotic. It isn’t. This is the one people screenshot.
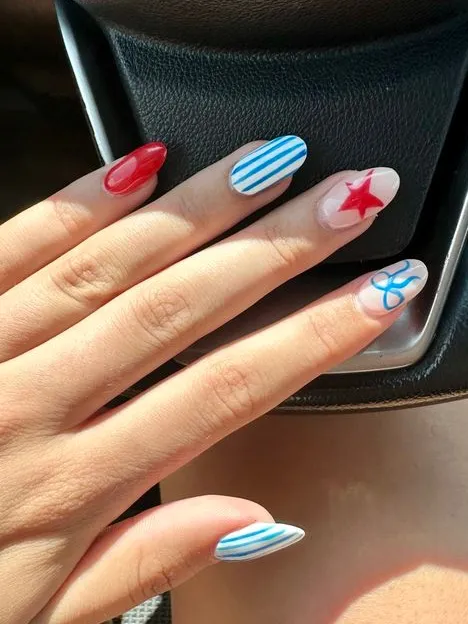
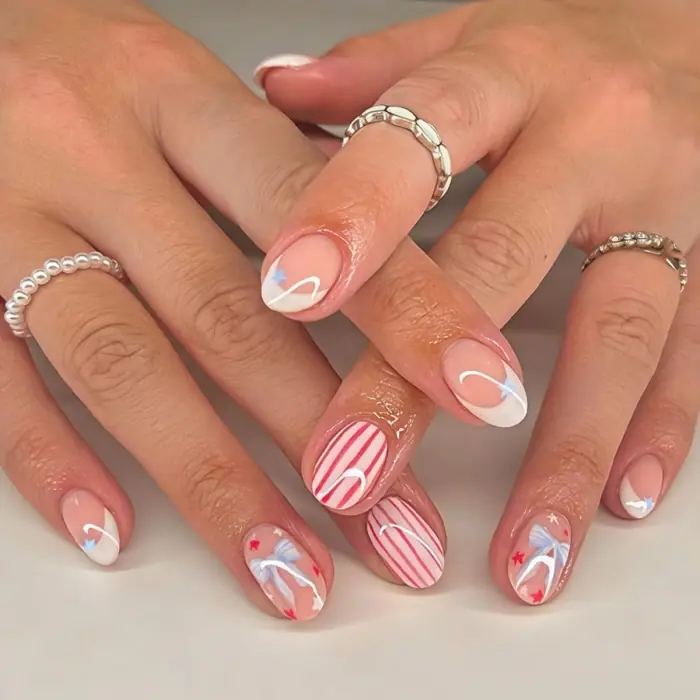
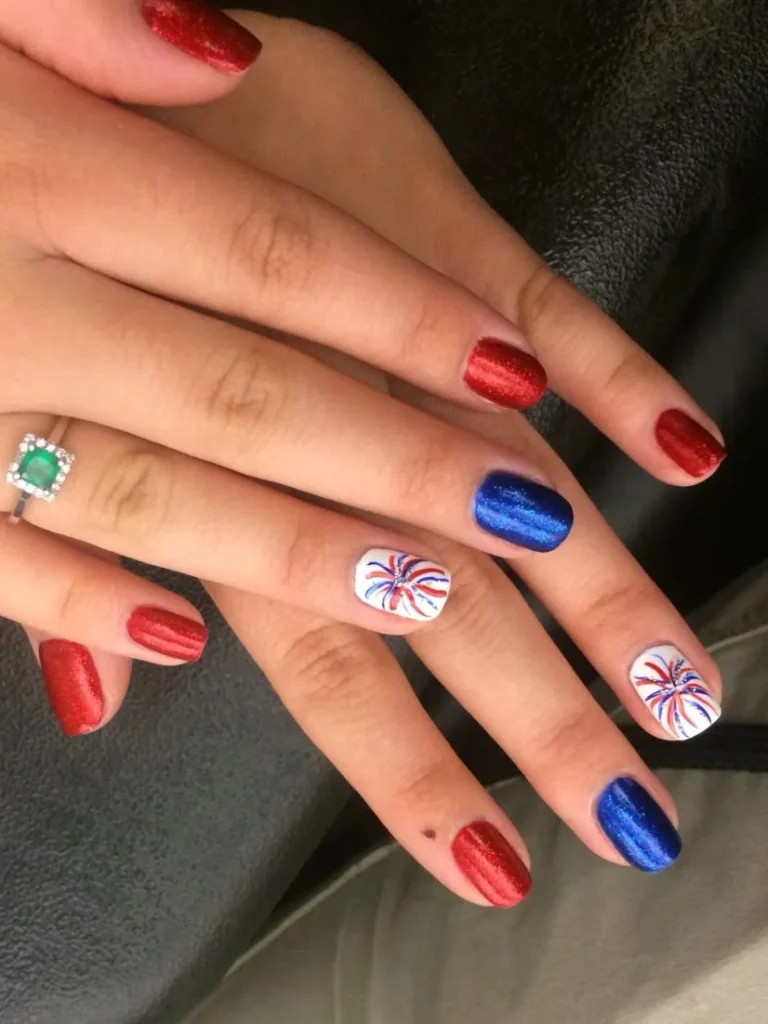
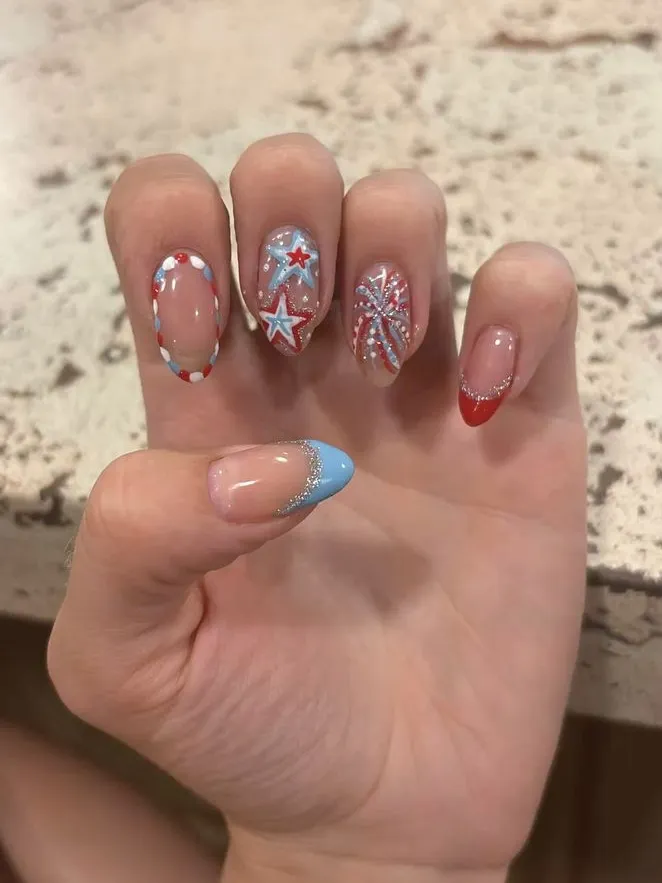
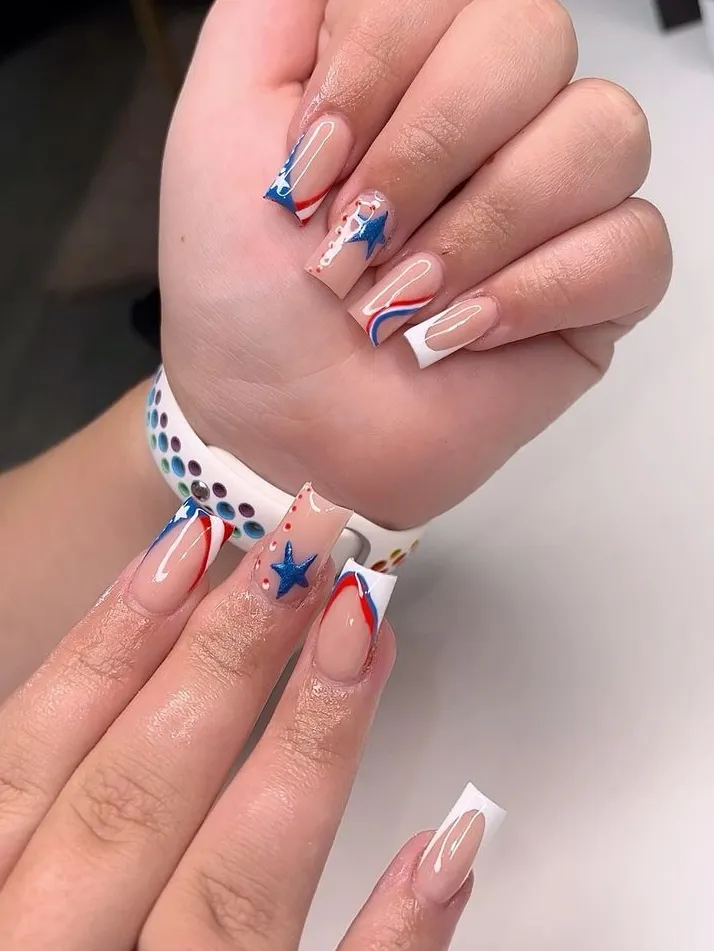
05. Stars & Swirls

French tips in red, blue, and white on three nails. Star on one, swirl on the other. More going on than the rest of this section — you’ll want a stamping plate unless your freehand is actually good.
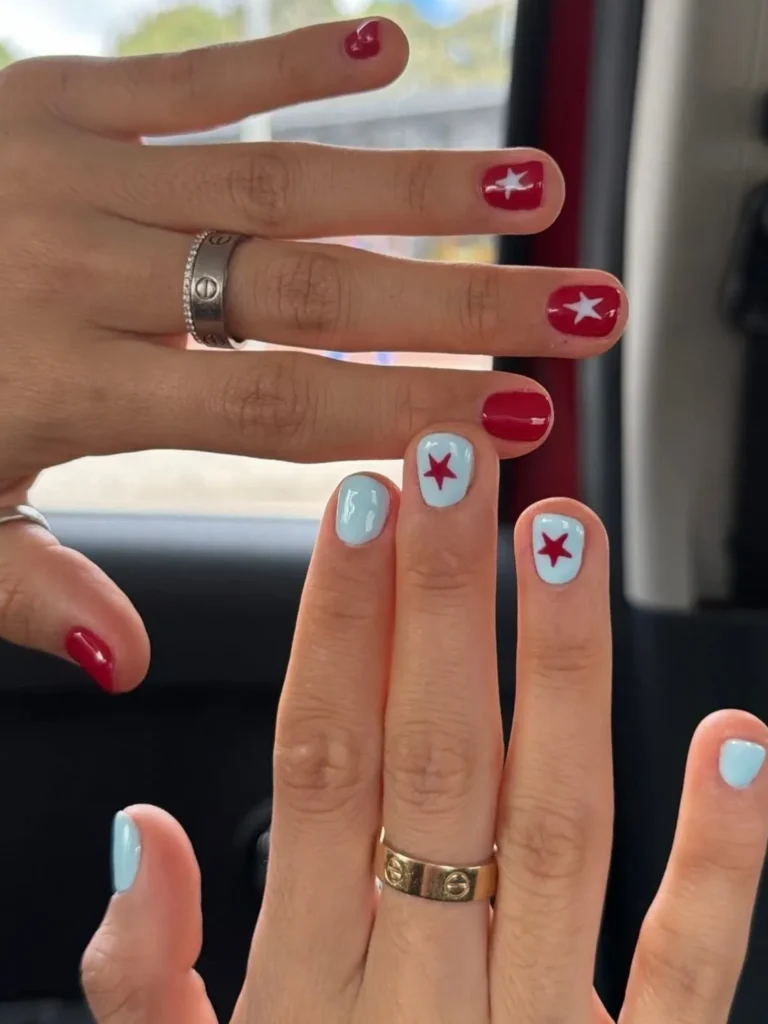
06. Simple but Cute
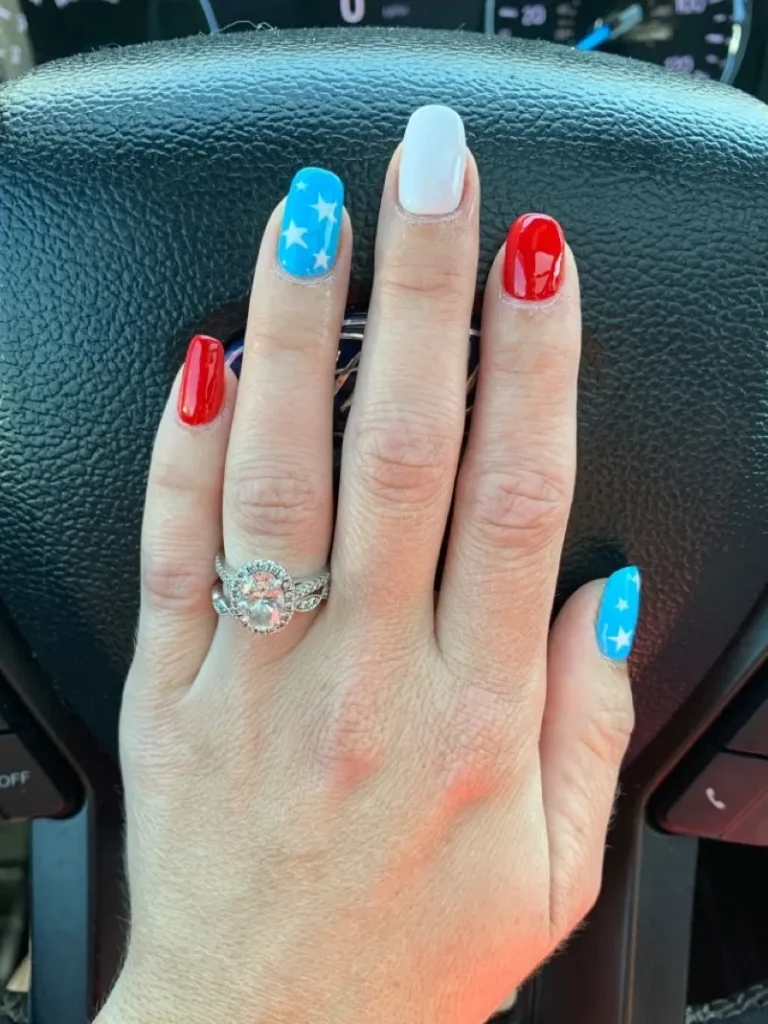
Sky blue with white stars, paired with white and red on the side nails. I actually prefer this over navy — it reads more summery, less flag, and for a daytime BBQ that distinction matters more than you’d think.
07. Snake Print Statement
Red and white french tips across nine nails. One nail in cobalt snake print. That’s it — and that one nail does everything. My personal favorite kind of manicure formula.
08. Patriotic Ombre
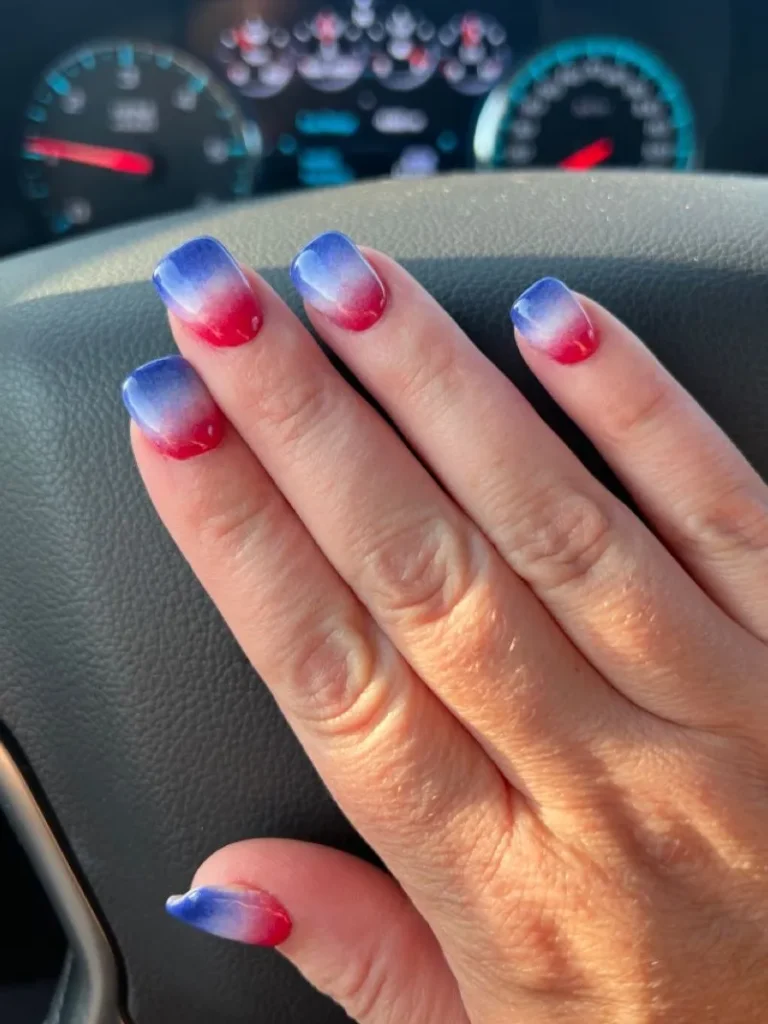
Blue into red into white, soft gradient. No harsh glitter fade, no chunky transition — just clean color blending. This photographs so well outside that it almost doesn’t matter what you’re wearing.
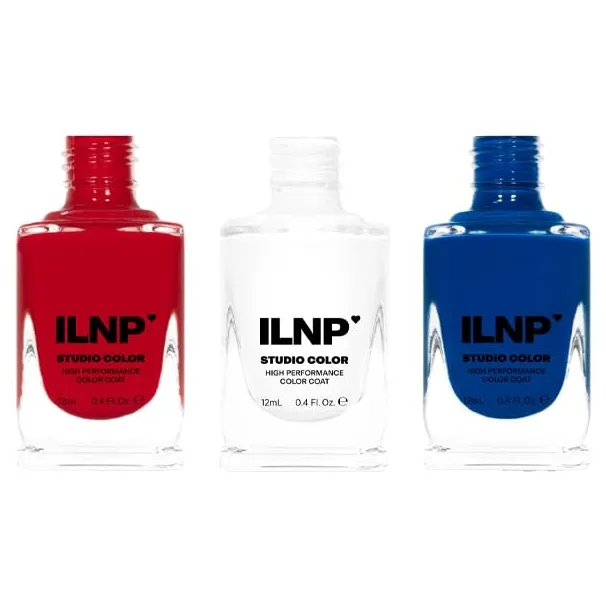
Recreate the Look
Soft Girl & Aesthetic Twists on Patriotic Nails
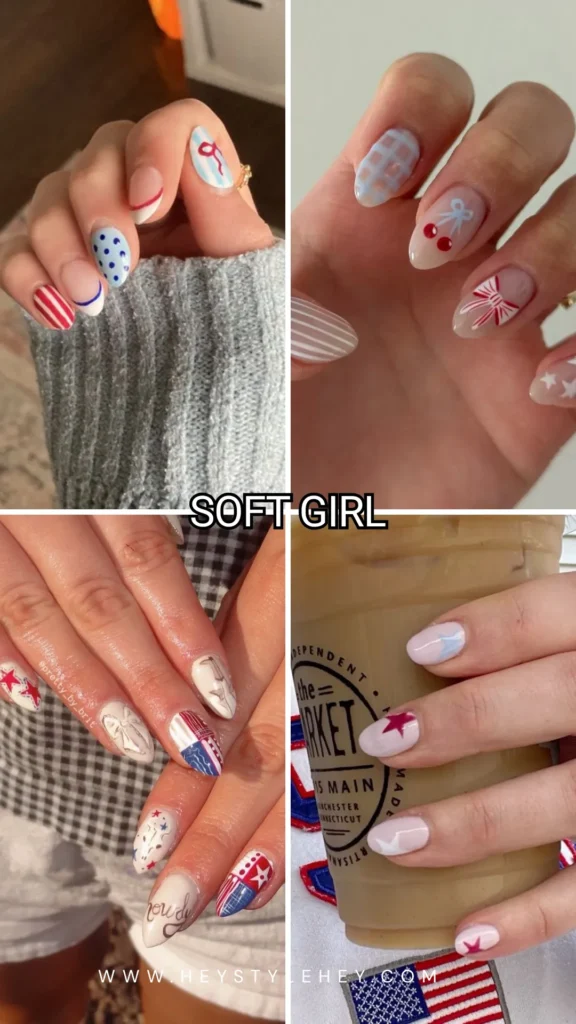
This is the section I actually got most excited about.
Because there’s a version of red, white, and blue nails that doesn’t scream “I’m at a BBQ” — it whispers “I’m at a BBQ but I look incredibly cute.” That’s the vibe we’re going for here.
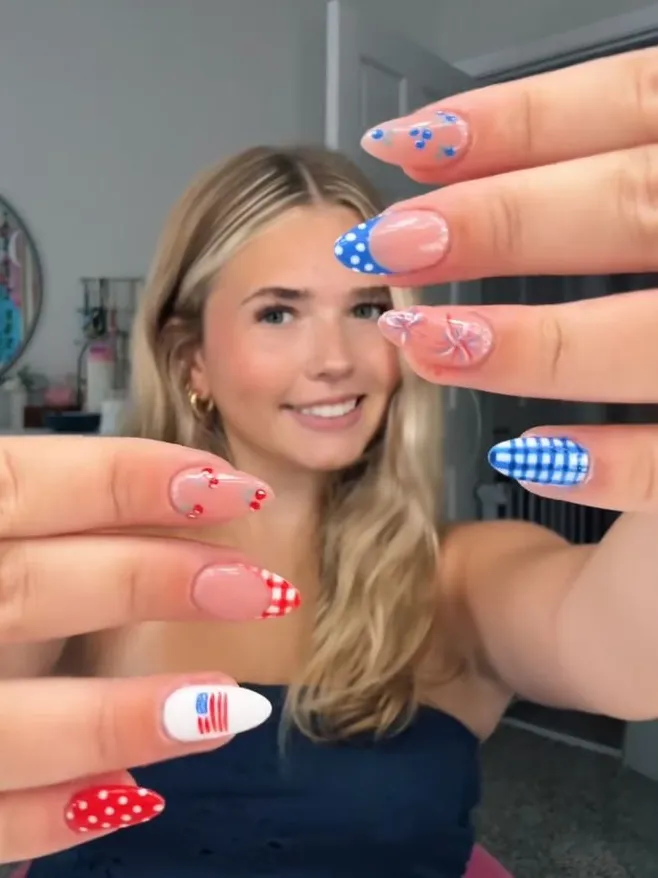
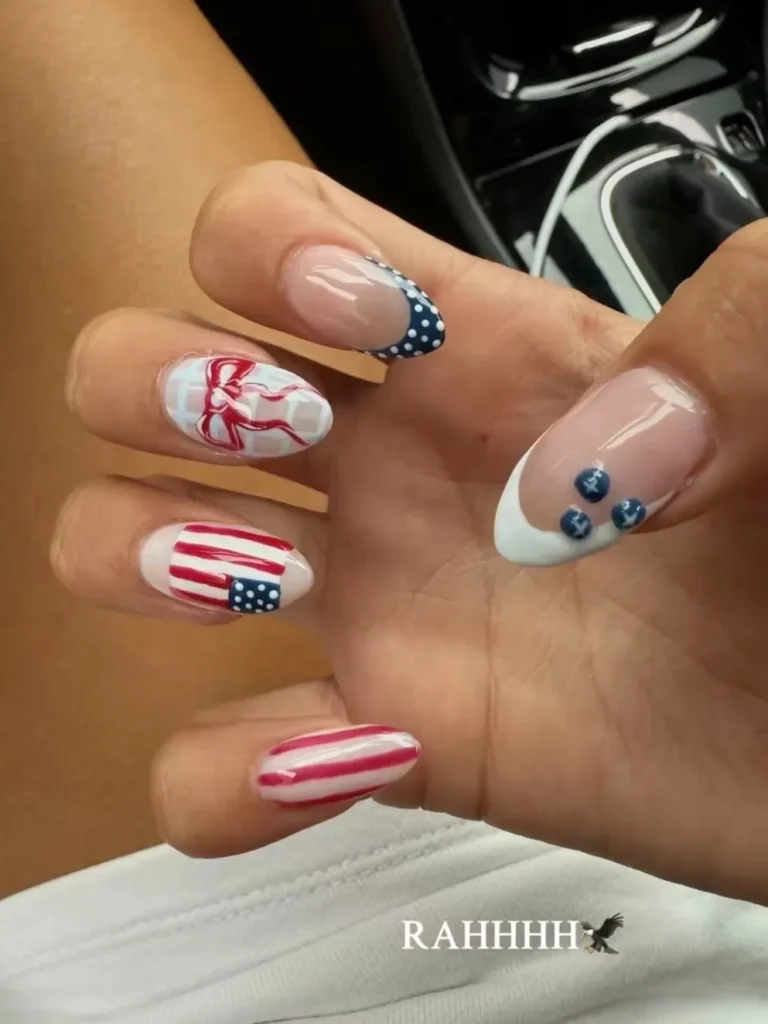
09. Bow & Dot Combo
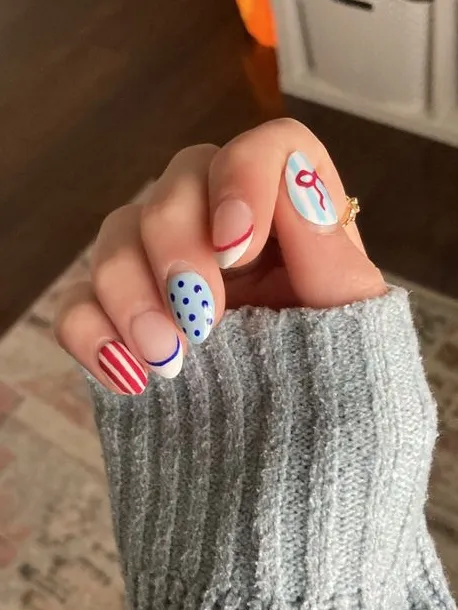
Sky blue, white, and red french tips — ribbons on some, polka dots on others, a stripe here and there. Looks more put-together than it has any right to for something this easy.
10. Cherry Mix

I’d wear this one in a heartbeat. Milky white base, then every nail gets something different — cherry, ribbon, stars, checks, stripes. Looks intentional without being too coordinated.
11. Vintage Cowgirl
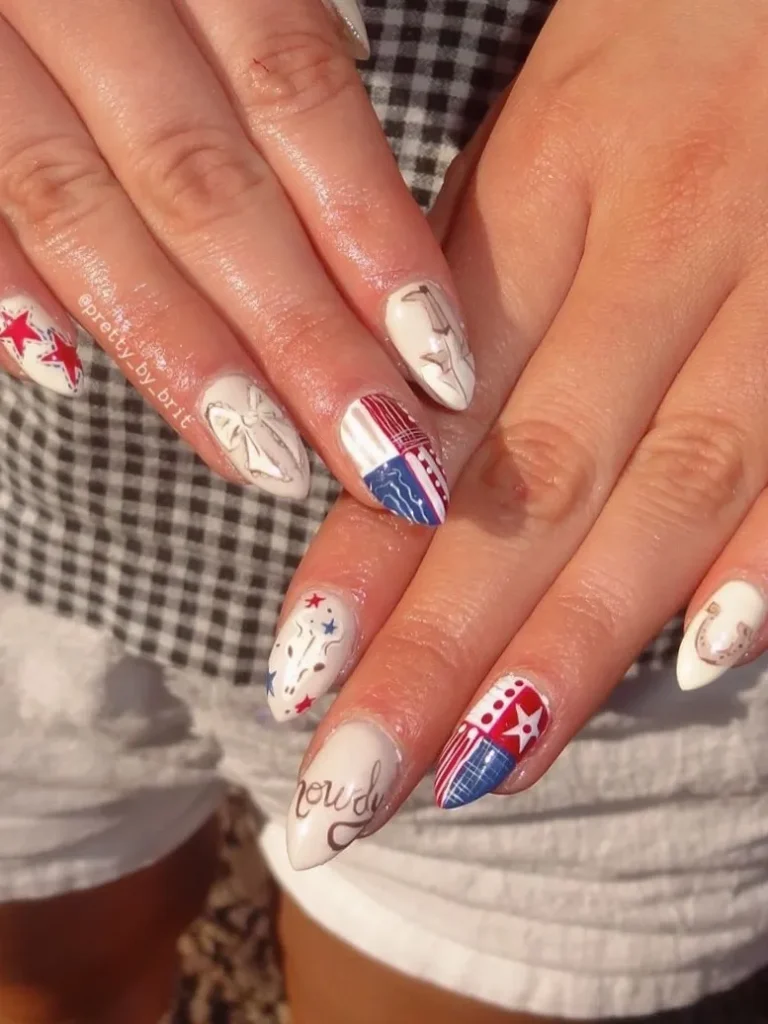
Okay this is the one. Ribbons, stars, cowboy boots, horseshoes, tiny flag — all on a warm muted palette. Very “I have a personality and also good taste.” My absolute favorite 4th of July nails in this section.
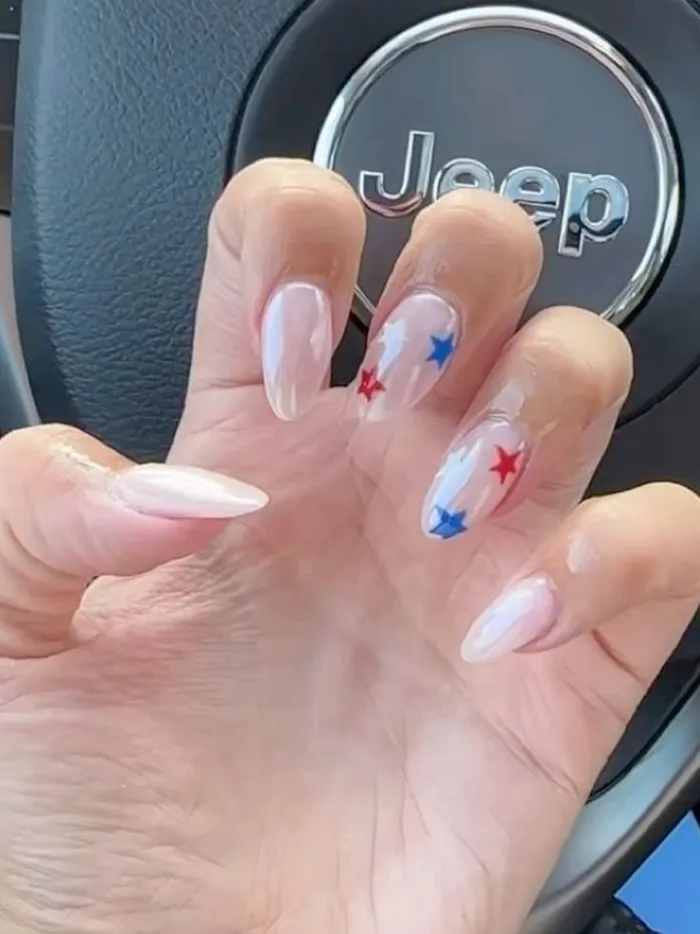
12. Star Trio

One small star per nail. Red on some, sky blue on others, white on the rest — all on a milky white base. That’s genuinely it, and somehow it’s one of the prettiest sets here.
13. Beach Aura Set
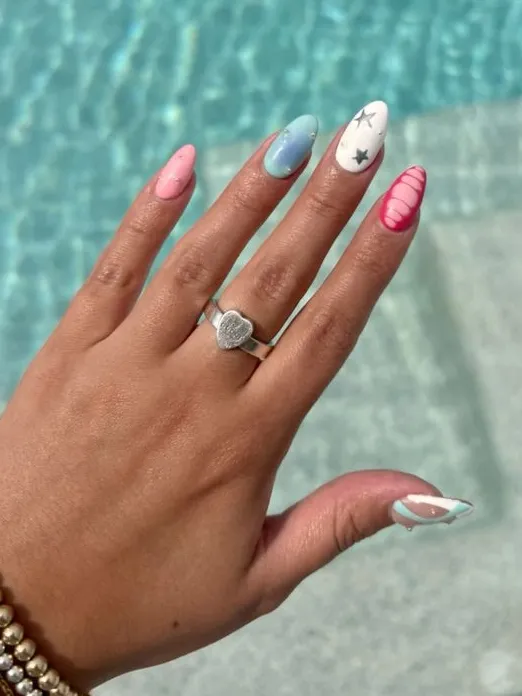
If you’re spending the 4th near water, skip everything else and do this one. White, sky blue, red — but the vibe is beach, not BBQ. Aura finish, swirls, snake print, star details all in one set.
14. Red & Blue Dot Tips

Milky white base, white french tip, then red and blue dots along the tip line — almost like they’re forming something. You don’t notice it at first. Then you can’t stop looking.
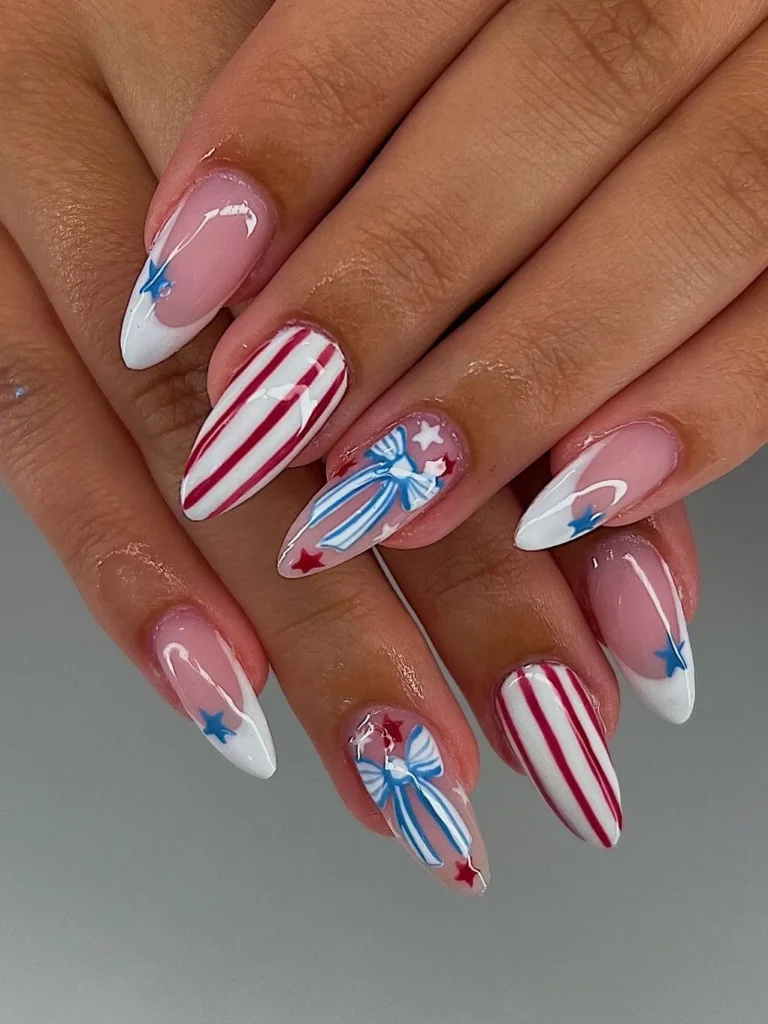
15. Ribbon, Stripe & Stars
Nothing competing, nothing overdone — just a ribbon, a stripe, and a star sitting next to each other like they’ve always been friends.
16. Girly Mix & Match
Everything minimal. This is the set that’s going to be all over Instagram by July 5th.
17. Crystal White
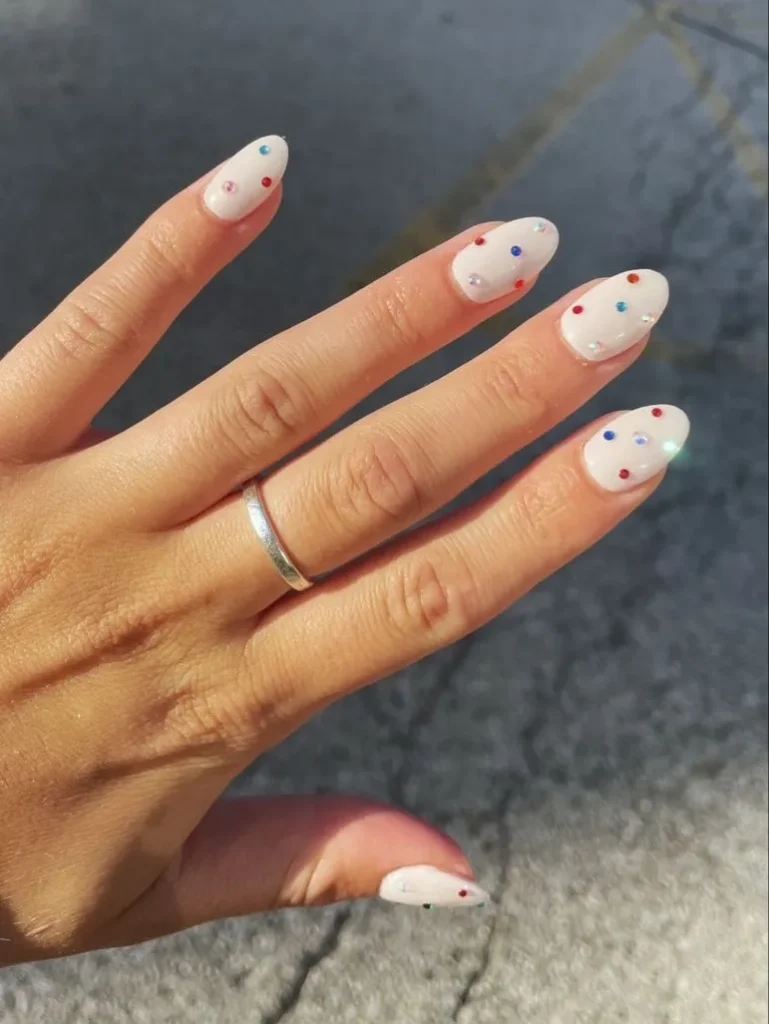
Honestly the most underrated look in this whole post. White nails, colorful rhinestones scattered on top — that’s it. But rhinestones catch light in a way no polish ever does, and people will ask about them all night.
18. Glazed Donut Patriotic
I’m obsessed with this combination. That chrome glazed finish already looks expensive on its own — add red and blue star accents on one or two nails and suddenly it’s a holiday set without feeling like one.
19. Dot & Stripe French

You know those nails you see and think “I could never pull that off” — and then you try it and it takes twenty minutes? This is that. Blue, red, white french tips, dots or stripes on top. Genuinely one of the easiest in this whole post.
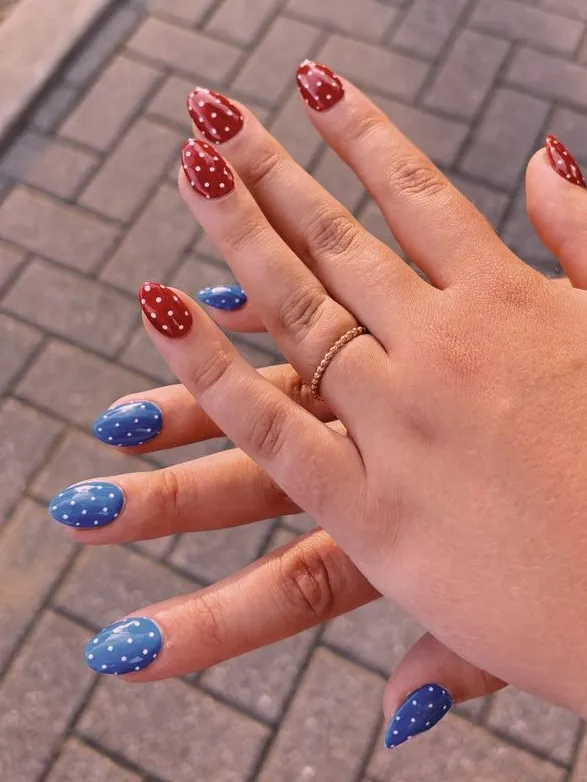
20. Sweet Polka Dots
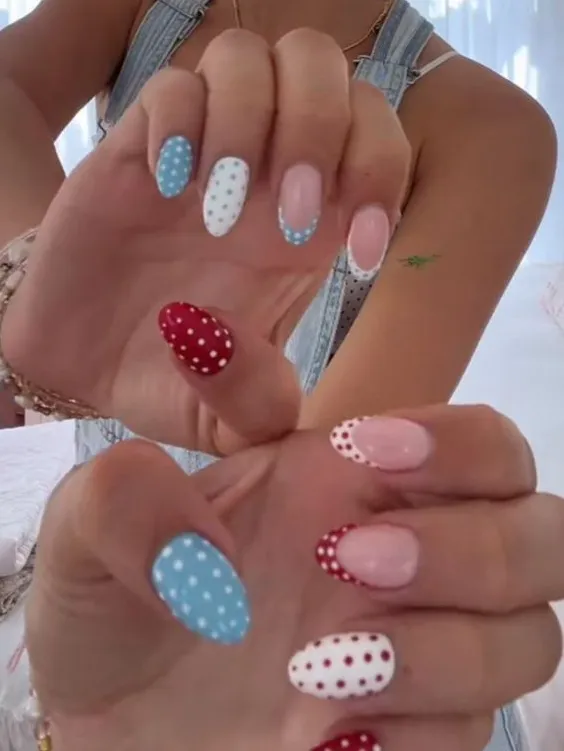
If you want the vibe without the whole theme — this is it. White, sky blue, red, polka dots, nothing too obvious. My pick for girls who are lowkey about it.
Recreate the Look
Glitter & Fireworks Vibes
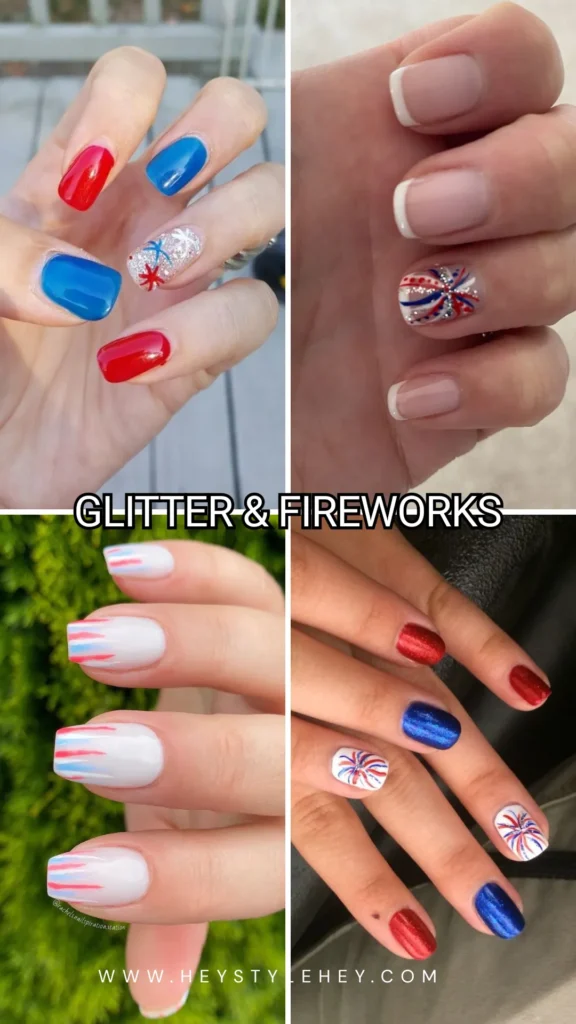
Some of us just want to go full sparkle mode on the 4th, and that is completely valid.
Glitter nails for Independence Day hit different because — fireworks. The whole night is literally designed around things that sparkle. Your nails should match the sky.
21. Simple Fireworks
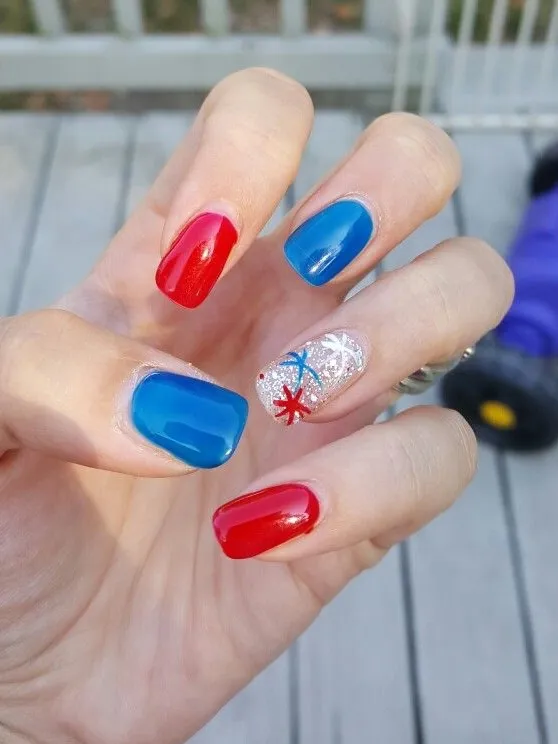
Red and blue across the board, then one nail in silver glitter with a firework on top. The contrast does everything — you don’t need more than that one nail to make the whole set interesting.
22. Clean French & Flame
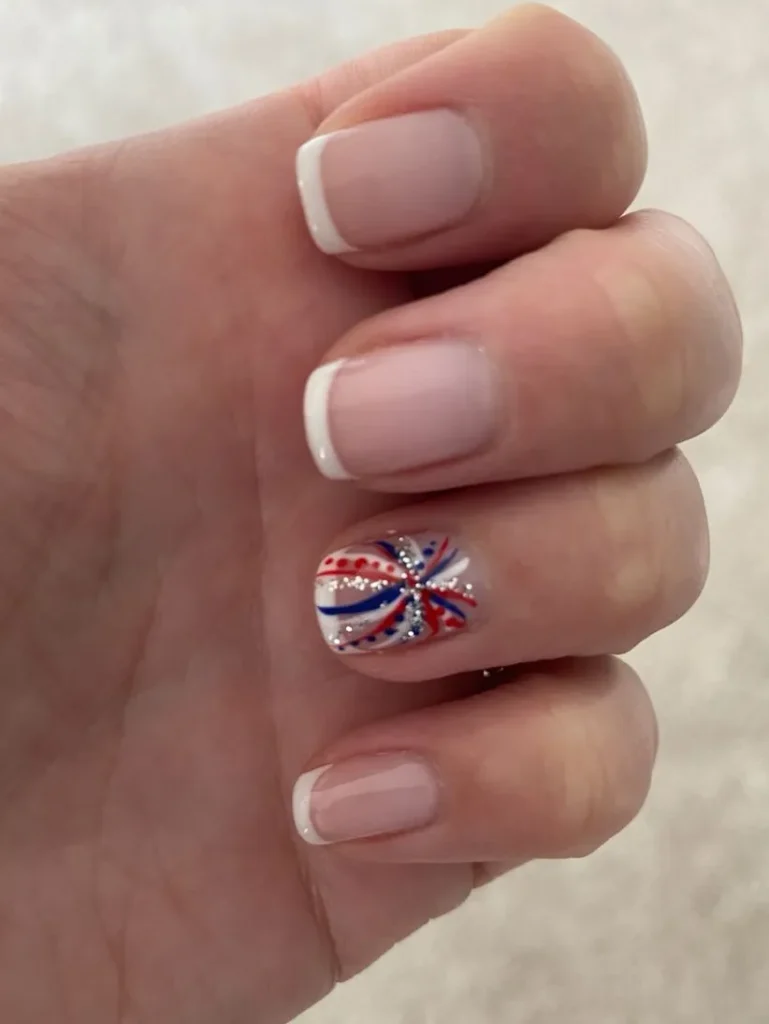
I always come back to this kind of set. White french tips everywhere, one firework on the ring finger. The less you add, the more that one detail lands.
23. Glittery Flame Trio
Three textures — glitter red, glitter blue, plain white — and a glitter firework drawn on the white nail. I’d do this one in gel so it actually survives the weekend.
24. Minimal Fireworks
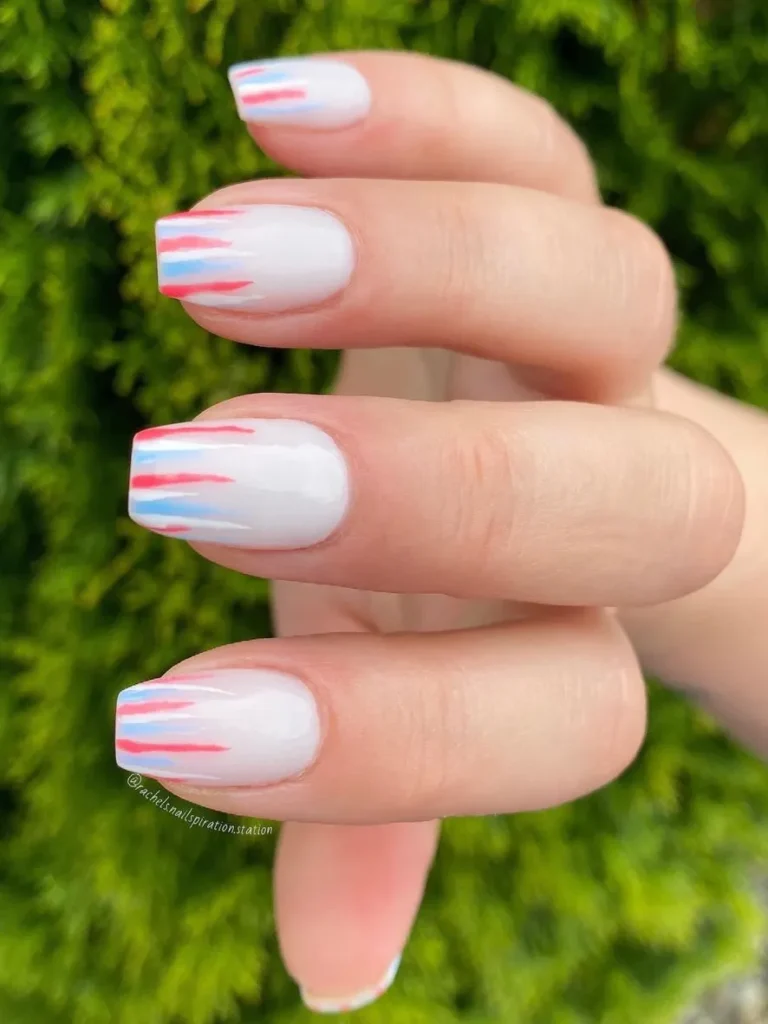
Short strokes of red, blue, and white at the tips of a milky white base. Not quite stripes, not quite flames — abstract enough to feel artistic, specific enough to read holiday.
25. Flame & Stars

You know when you want to do something but also kind of don’t? French tip, firework accents, done in fifteen minutes. Still looks like you put thought into it.
26. Fun Mix and Match

Bandana, tie-dye, snake print, stars, fireworks — all ten nails doing something different. Loud, completely unapologetic, and honestly my favorite kind of 4th of July energy.
27. Festive 4th of July Nails
Sky blue, red, and white — french tips on some, stars on others, fireworks wherever they fit. I can never pick just one thing, so this is basically the set I’d make for myself.
Recreate the Look

If you liked this, you’ll love this post too:
12 4th of July Outfits So Good You’ll Actually Want to Get Dressed
Stars & Stripes Nail Art
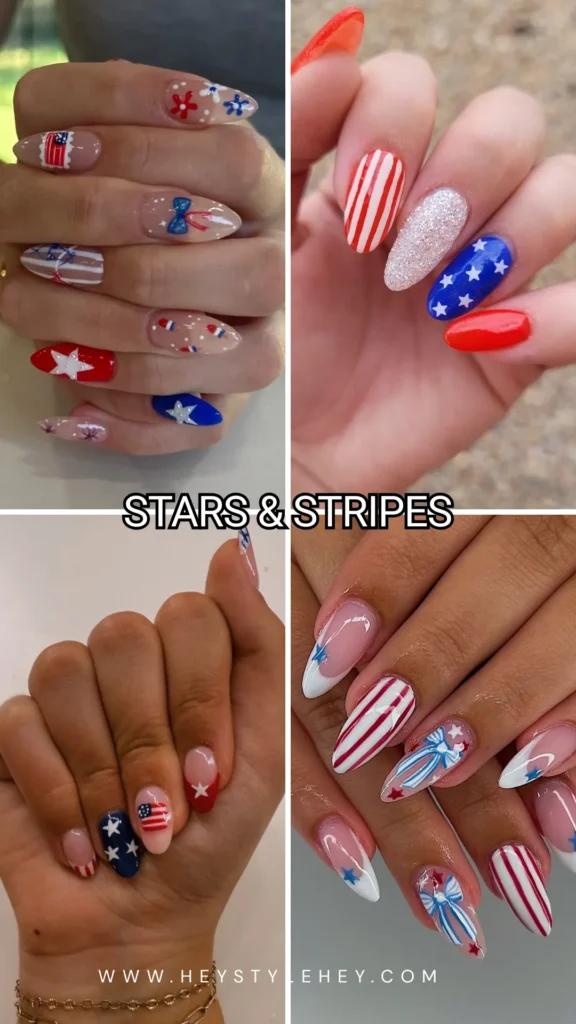
Let me be honest — I cannot freehand a star to save my life. So this section is specifically for people like me.
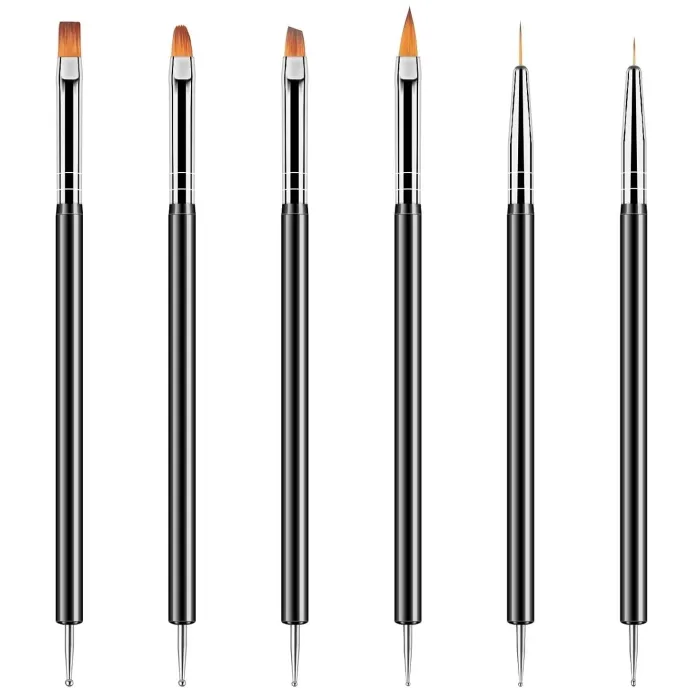
The good news is that you don’t need a steady hand or years of experience to pull off Independence Day nail art. You need the right tools.
28. Sweet Americana Mix
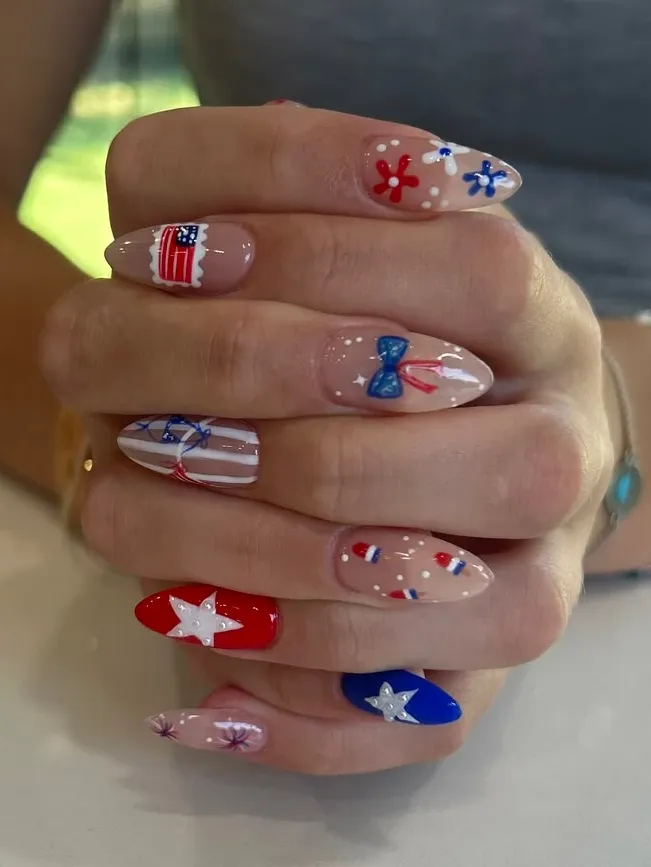
I genuinely cannot pick a favorite nail in this set because they’re all doing something. The chaos is the point, and somehow it lands.
29. Stripe, Glitter & Stars
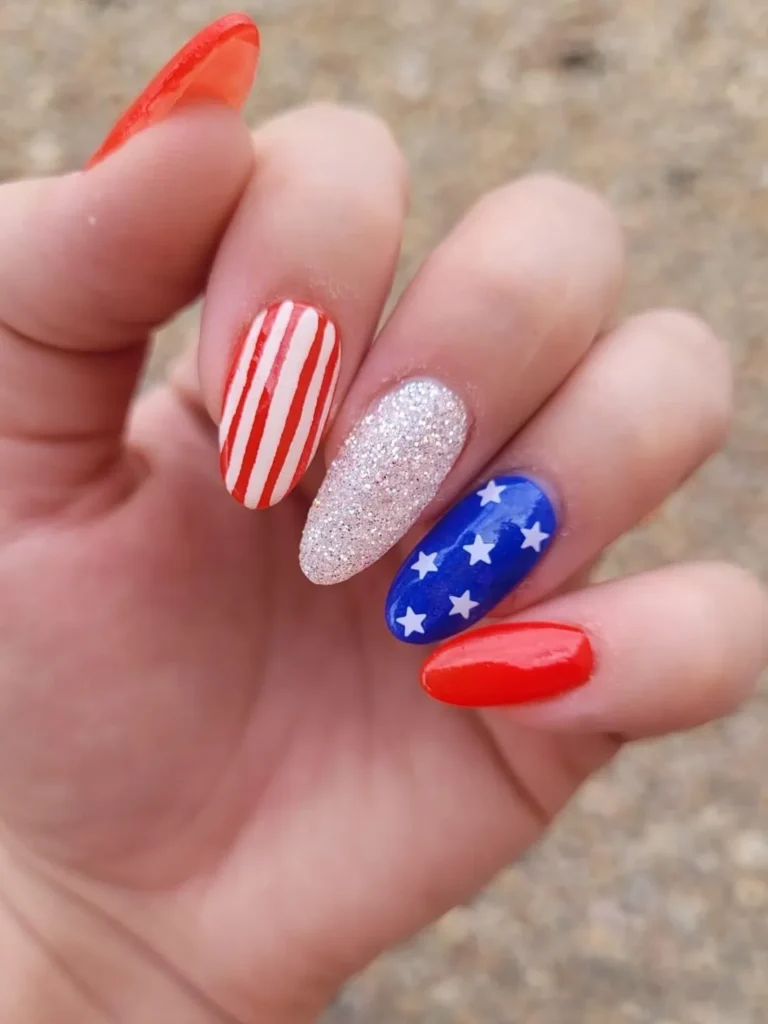
Red and white stripes on one, silver glitter on another, blue with stars, two just solid red. Five nails, five things — but it reads as one set. That’s harder to pull off than it looks.
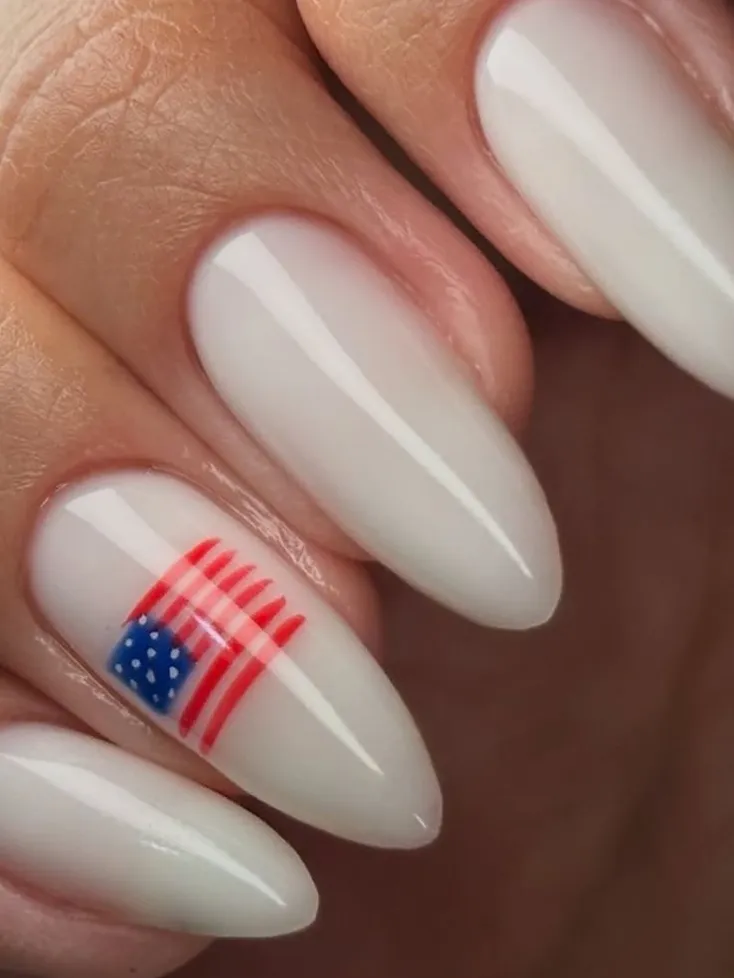
30. Cute Flag Nails

Stars, stripes, the flag. No twists, no reinterpretation — just the classics done well. Not every set needs to be unexpected. Sometimes clean execution is enough.
31. White Girly Vibe
This one’s made for long nails. Stripes, ribbons, small stars on white — the length gives everything more room to breathe, and it ends up looking almost editorial.
32. Simple 4th of July Nails
You know those nails where you can’t quite explain why they look so good? This is that.
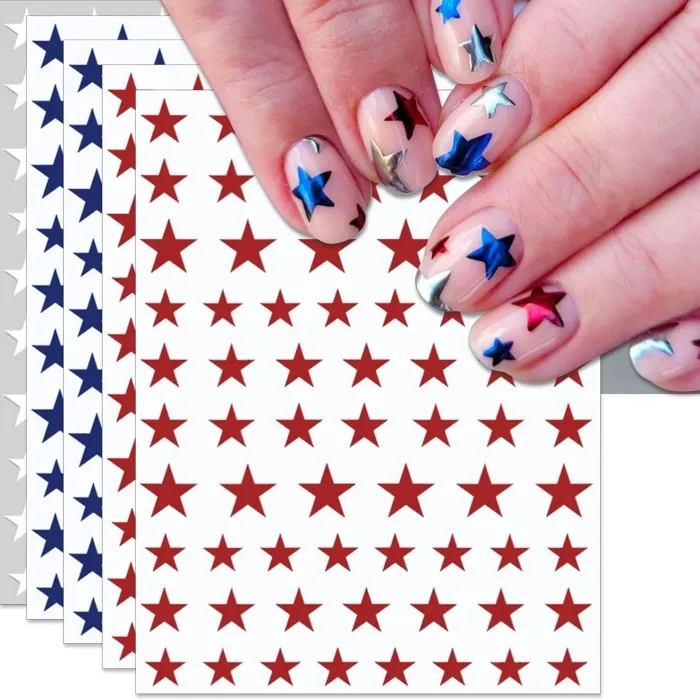
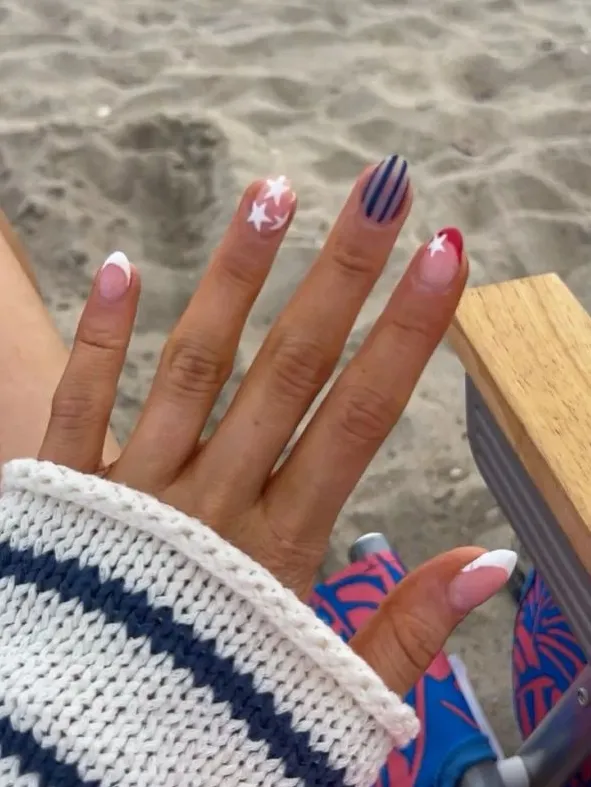
33. Blue and Red Stars

All white, then blue and red stars on just the third and fourth fingers.
34. Red & Blue
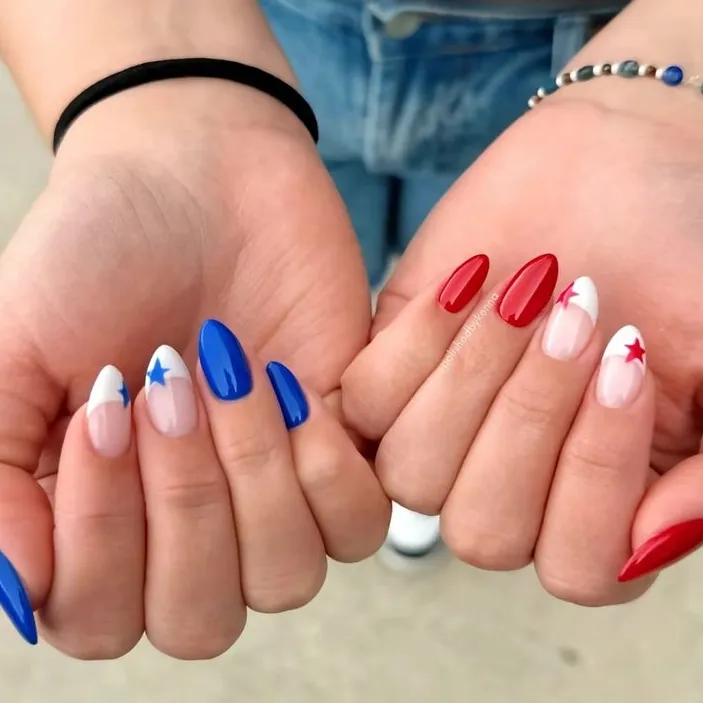
I’d absolutely do this one. One hand full red, one hand full blue, star accents scattered across both. Put your hands next to each other and the contrast is genuinely shocking in the best way.
Short Nail Gang
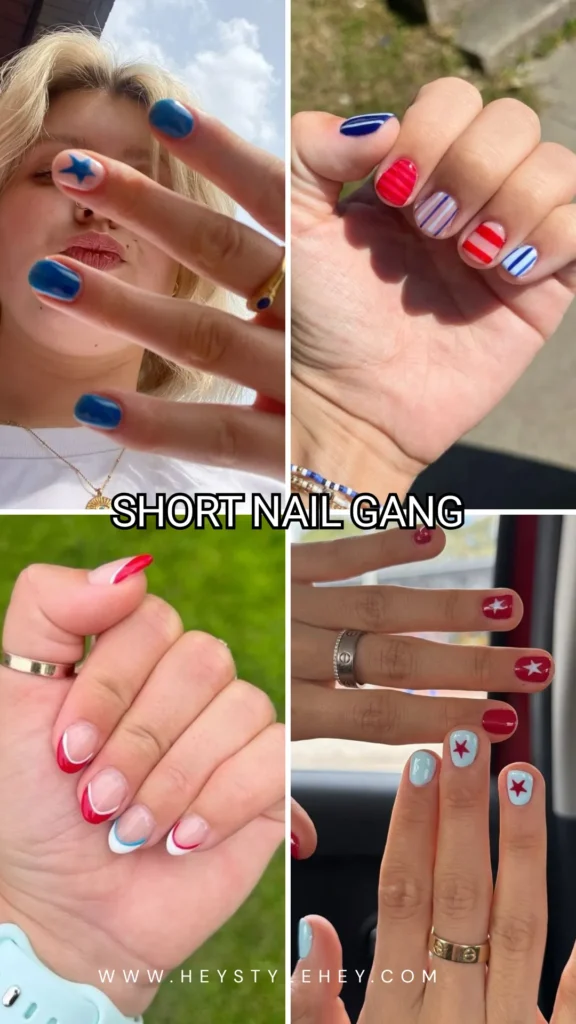
Every time I see a 4th of July nail post, it’s all long coffin nails and full art sets. And I’m just sitting here with my practical, grown-up, keyboard-friendly short nails like… okay but what about me.
Short 4th of July nails can do everything long nails can do. It just looks different — more clean, more minimal, more European somehow. Lean into that.
35. Minimal Star Accent

Honestly my kind of set. Everything blue, short nails, one star. Done.
36. Every Stripe Different

Red and blue across the board — but look closer and every single nail has a different stripe going on. It’s the details that make people ask about it.
37. Cute Double French
I’d wear this to literally anything. Red, white, and blue stacked into a double french tip — feels elevated without actually being that hard to do.
38. Red & Sky Stars
You don’t fully get it until you hold both hands up together — and then it clicks.
39. Dotted French Line

White french tips with a row of blue and red dots running right along the tip line. Looks like a border, reads like a detail. The kind of thing that makes a simple set feel finished.
40. Cherry & Gingham

Cherries on some nails, gingham check on others, all on a red base. Very vintage diner, very much a set I’d still be wearing two weeks after the 4th.
41. Half and Half Polka Dots
It shouldn’t feel different from doing both hands the same way, but it does. Weirdly satisfying.
Long & Dramatic
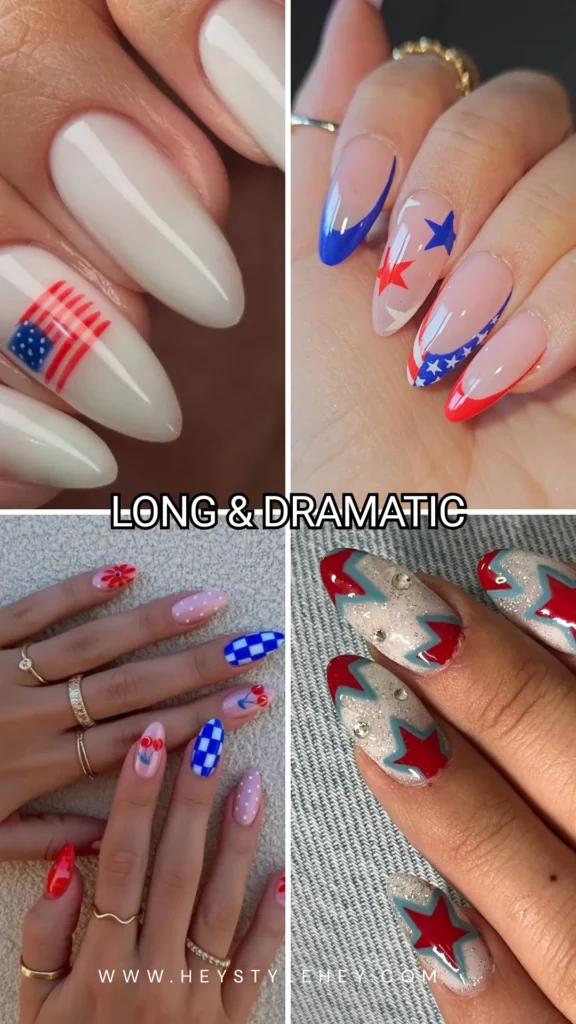
For the girls who go all out. No judgment — honestly, respect.
If you’re getting acrylics or a full set for the holiday weekend, or you’re stacking up on press-ons, this is your section.
42. Mini Flag
If you want one thing and one thing only — this. White nails, fourth finger gets a tiny flag, everything else stays out of the way.
43. Flag Tip French

I saved this three times before booking the appointment. Red and blue french tips, stars on one nail, an actual flag pattern built into another tip. A lot happening, none of it wrong.
44. Funky Stars
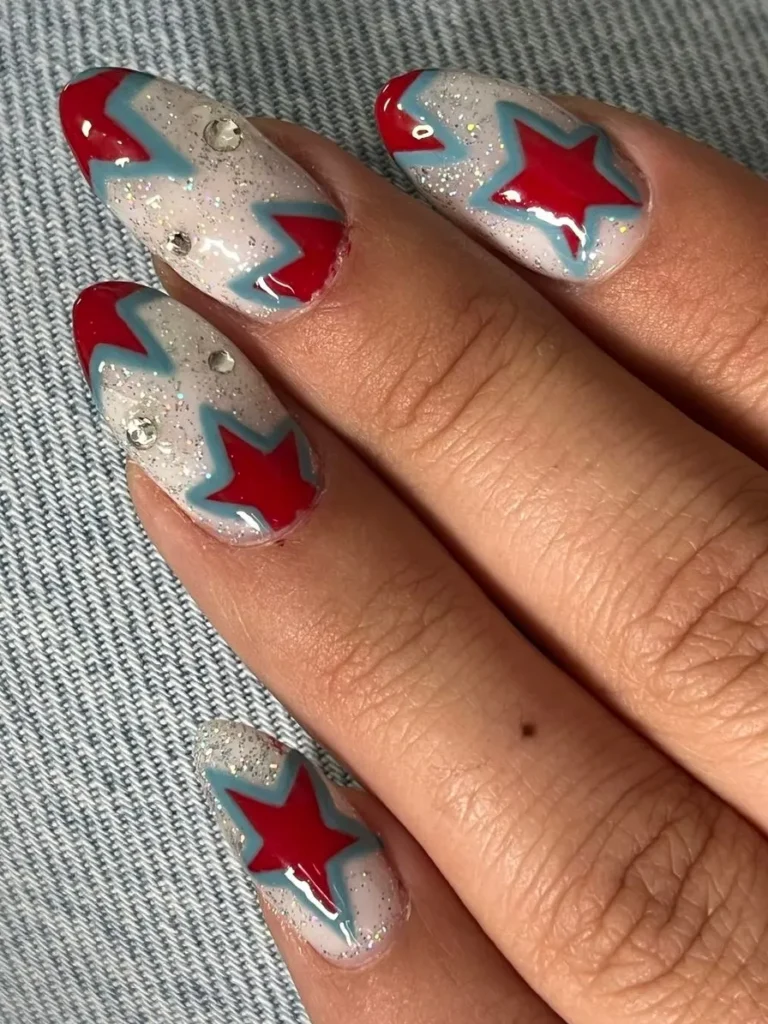
You won’t fully appreciate this one until you’re standing under party lights. Glitter base, oversized red star outlined in sky blue, rhinestone or two on top.
45. Girly Remix
Blueberries, ribbons, stripes, polka dots, tiny flag — all on one set, somehow none of it fighting. This is the one for girls who refuse to edit themselves down.
46. Simply Stunning
Stars, dots, swirls, french tips — my friend saw this and texted her nail tech before she even finished scrolling. Long square shape, everything just sitting right.
Honestly, there’s a reason 4th of July nails trend every single June — the color palette is genuinely good, the occasion gives you permission to go a little extra, and even the simplest version — a solid red or a clean navy — feels festive and intentional.
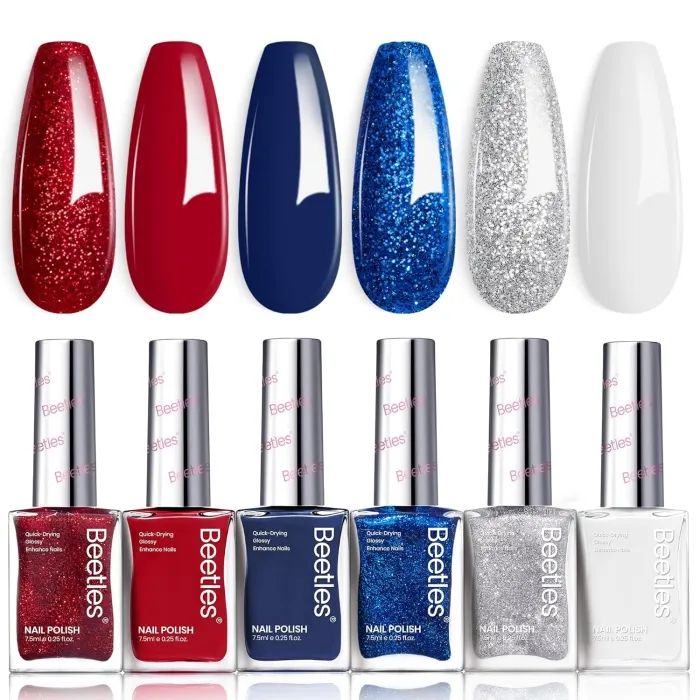
My personal picks? The muted dusty red and cream set from the aesthetic section, or the holographic top coat over red if I’m going for something easy. Both feel current without trying too hard.
Which one are you trying this year?